Even for the most experienced artists, character design can be a tough nut to crack, especially when it comes down to designing entire characters from scratch and making creative decisions. Even though our world today is flooded with animated characters, and a number of them look and feel extremely simple, there is more effort that goes into them than meets the eye. You can bet that there are countless man-hours dedicated to every stroke, shade, and shadow for every important character. Character design may appear simple on the surface but is a vast and twisted expanse when you start looking into it. Below, we list out some basic tips you should keep in mind when you are getting started with designing a character.
REMEMBER THE AUDIENCE
The audience for your character will be the final judge for how good your design is. This does not mean focusing simply on making good characters with interesting concepts and new styles, but being very conscious about the final consumer and what will suit their tastes. For example, every client you are working with should have a specific target audience for their character, such as a particular age group, a particular genre and so on. Sharp lines and great detailing may work for some, while others may need abstraction and basic shapes. Get a strong understanding of what colours, colour schemes, languages, and movements will be associated with the character from the very beginning to save up on time at later stages.
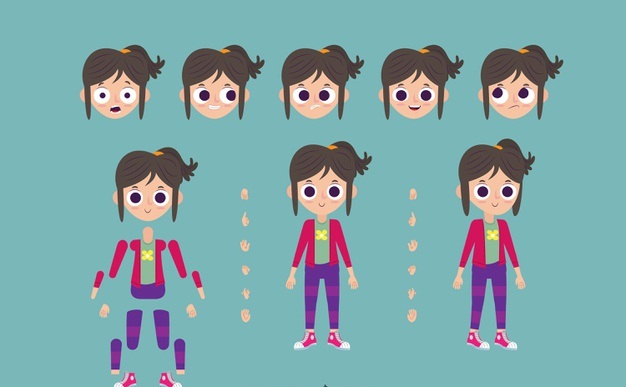
DISTINCTIVE FEATURES
Our world today is so flooded by characters, with new ones popping up at every corner, that you will have to work extra hard to make sure your character is distinctive and stands out from this growing crowd. It can be easy to lose yourself in the process of designing them and end up with characters that are very similar to ones already in the market. Unless you have a good idea of what already exists before you begin working, you will not be doing your character justice. Moreover, try very hard to include distinctive colours, shapes, silhouettes, or specific features, that will set your new character apart. These distinctions are what define the character and make it easily recognizable to the audience.
CHOOSING COLOURS
The colours and colour schemes that you use for your character can say a lot about the character at first sight. The colours can be an indication of the culture, traditions, period, geographical location, or personal preferences of the character. Moreover, colour theory comes into play almost immediately, and the colours which you use will impress specific characteristics upon the viewer. There are certain colours which communicate certain emotions, and the human mind is conditioned to pick these up almost immediately subconsciously. For example, a combination of red, yellow, orange, and similar colours may be perceived as speed and energy, while greens, purples, and blacks together may stand for evil or darkness. If this sentence made sense to you, then you have just experienced the wonder that is colour psychology in action. The bottom line is that this means you will have to do a fair amount of research and put in a good deal of thought while deciding on the colours for your character.
2D VS 3D
This is a decision you will have to make very early on in your character design process. 3D animation rendering and characters may make you feel more modern and with the times, but it is essential to think about what works for your character and the environment that they are going to be placed in. Some characters may work better in 2D and maybe more fun or entertaining that way. If you think that it requires modelling and work from different angles, 3D may be the way to go, but don’t forget the more in-depth character and persona that can be given in 2D art, especially when it is partly hand drawn and has harsh or raw elements.
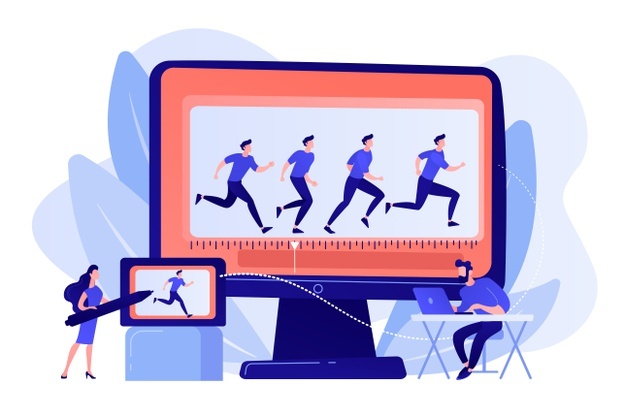
STEPS OF ANIMATION
For anyone stepping into animation, or just beginning the journey as either the designer or the client, it can be a little intimidating and confusing to try and understand all the steps that are involved in the animation process. Sometimes there seem to be too many, sometimes too few, and more times than not, all of the steps seem to overlap and merge, making a confusing pile of activities. To ease out these issues, we have listed down the seven key stages to the animation process.
OPENING DISCUSSION
the opening discussion between the designer or animator and the client is a crucial part of the animation process. This is where is relevant information, existing audio and video, ideas, concepts, briefs, and any specific requirements enter the picture. Unless the client is obvious with all their needs and there are good communication channels between the client and the designer, the end product will not work in anyone’s favor.
DESIGN
The animation and design process kicks off based on all the information that has been collected in the discussion and can directly reflect how well that first step has been executed. References from the client can be very helpful at this stage to get a clear understanding of what is being expected, and the styles to focus on. Depending on the complexity of the project, the animators or illustrators may provide several different options to the client from which they can pick the most appealing ones, make changes, or offer their opinions. The number of reviews with clients before the final design is presented will depend on time constraints and the budget.
STORYBOARD
The storyboard is necessarily the foundation upon which the animation is done, and gives a better understanding of how different visuals, audios, characters, and sets will be interacting with each other. At this stage, all the important scenes and the character interactions are mapped out based on the given storyline. The storyboard serves a narrative purpose primarily and provides direction to the following work since designs and styles have been taken care of at the previous step.
ANIMATIC
Animatics are roughly put together animations that are made in the middle of the animation process to pull together everything that has happened so far and to make the entire film but in a somewhat rough manner. It is used to get an understanding of where the animated film or video stands at a particular moment, the amount of effort involved, and the things that need to be focused on. Video at this stage is usually very rough an unfinished, kind of like the animation equivalent of stick figure drawings. This stage is often skipped depending on budget constraints or because it is just unnecessary.
PRODUCTION
This is the easiest to understand since it is fairly self-explanatory. This stage involves working on each frame, forming complete characters, working on the lighting and including audio, and making the final film or video. This is the point where all previous efforts come together and begin to make complete sense. If there have been issues or slacking off on the preceding steps, it will be fairly obvious at this stage since problems will start kicking in.
FINAL FEEDBACK
This is the stage where clients are approached for their final changes in the animation before renders and the end delivery. While corrections and changes are frowned upon even at this stage, none are usually entertained at all after this point. This is a preview so that the client can be assured of quality content that they are paying for. This stage involves getting the animation approved from all the people who have been involved in the process and may even involve legal documentation or payments.
FINAL RENDERS AND DELIVERY
This is the most self-explanatory of all the stages since it is what the entire process has been working towards. Final changes are made, and the files are no longer being presented as low-quality MP4 files. Instead, final renders are done in high quality and then delivered to the customer as one final interaction. This stage can take different lengths of time depending on the nature of the video, and the length and quality that is being worked on.