Preparation
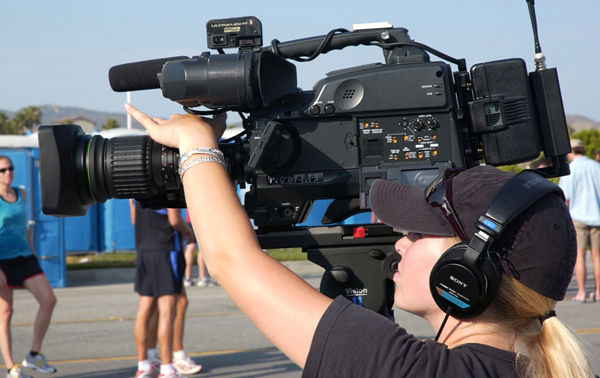
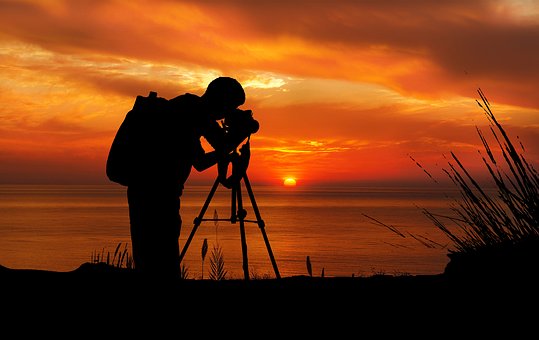
The location of a shoot is a key factor that determines how the final product will turn out. There are some locations which can boast of having ample amounts of light and a good setting, while there are an equal number that may be incredible for the shoot but do not have the required light sources. Hence, it becomes essential to scout the area before the shoot and understand what can be accomplished.
This will also give you an idea of the sort of extra lighting and the type of lenses that you will need to carry. It is never a good idea to depend solely on natural light as it can be very unpredictable and may vary depending on the time of day. An ideal shoot is one where you have a maximum amount of control over the lighting and many backup options in case of any issues that may happen spontaneously.
Understanding lighting gear
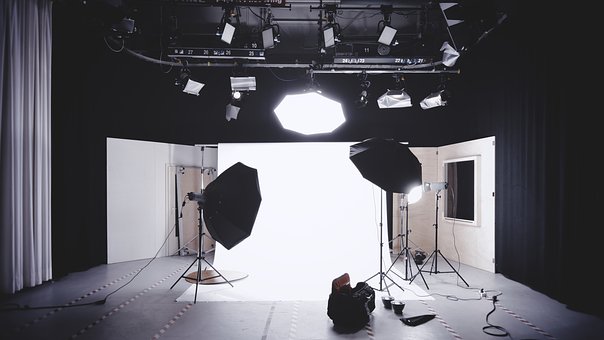
In addition to your natural light sources, most shoots will require some additional equipment that is brought along solely for providing light from the right directions. There are some options to be considered in this regard. While some lights are small and easy to carry around, others are big and heavy and require an entire team just for their transportation. Most beginners start with fairly basic lights, such as clamp lights of different colours and intensity which can be added into the scene quickly. Larger light sources, including studio lights, and entire kits, are far more expensive and only used by those who have a better idea of how to use them.
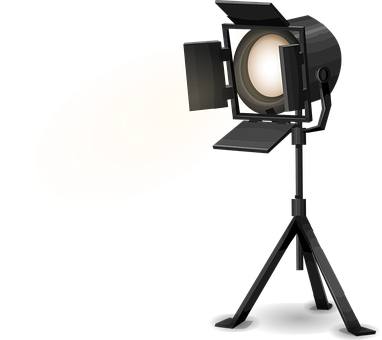
3 point lighting
This is the most common setup which is used for lighting, and involves a key light, a fill light, and a backlight, which is also referred to as a hair light. The key light is usually the brightest and is responsible for most of the lighting which the subject receives. The shadows which may be caused by the key light are eliminated by strategically placing the fill light. It is not as bright and provides a more filtered light that prevents the photograph from looking flat or monotonic.
The backlight is mainly used to provide some definition to the subject and to ensure that it stands out from the background, and is essential for communicating depth. This lighting set up works well for most popular types of videos, including interviews, promotional videos, and webinars. It is important to place the lighting gear in specific locations and to test them out so that there are no issues regarding glare or silhouettes caused at a later stage, which can cause difficulties in editing.
Colour and temperature
While choosing the type of artificial light, it is essential to understand that not all light sources give the light of the same colour, and intensity. Colours appear cooler and warmer on camera and lend the same characteristics to the entire shoot depending on the filament that is present and the way that the viewer will perceive this. Hence, different types of light are necessary for different shoots. It is not advisable to introduce too many different types of lights in a shoot as this can lead to confusions within the shots, reduce the impact of colour in the frame, and make the overall colour balance difficult.
Hopefully, this has helped you gain a better understanding of how light can affect videos and the best way to control all situations. Happy shooting, and good luck!