To obtain a professional look, you do not need to spend a lot on expensive equipment; the chances are good that you can make fantastic videos with whatever you have right now. You would not believe it at first, but after reading this article, you must get convinced that you can make professional videos at home.
By paying attention to a few key details that may not be obvious at first and practising your craft, you can become an exceptional videographer.
These videography ideas will be useful whether you are shooting a high-end production or simply creating a vlog that your target audience will enjoy watching.
Let us look at the factors which you must consider while making videos at home
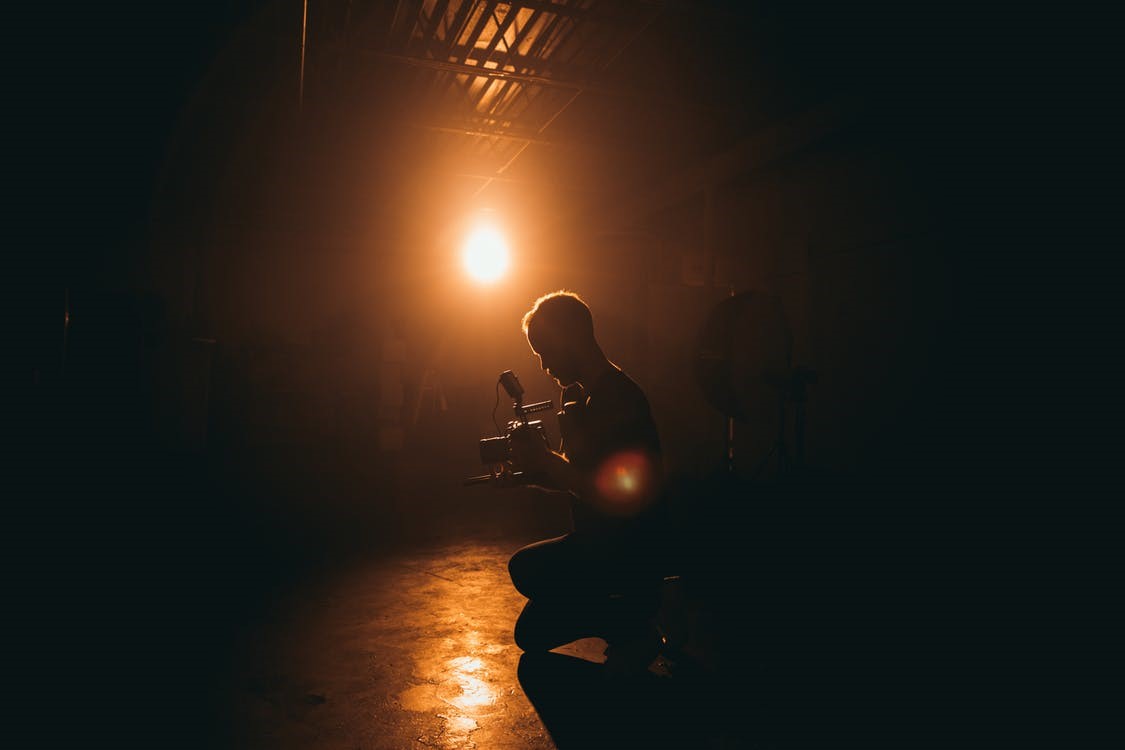
Plenty of Light
- Make lighting one of your primary objectives when filming because it dramatically impacts the quality of a finished professional video. Even if your video is fantastic in every other way, it will look amateurish if you do not employ enough well-placed light.
- Determine what types of lighting you will need and where you will put them to get the desired look.
- Consider how you can make existing lights (such as lamps and the sun) work for your setting if you work on a budget. o Shoot your footage early in the morning or late in the evening, when the light is softer.
- Direct overhead light during the day can throw harsh shadows on your subjects, whereas morning and evening light are more attractive. The principal film light of a scene or subject is also known as the key light. This means that it is usually the most powerful light in a scene or photograph.
- The primary light is usually the first to be set up, even if your lighting crew is going for a complicated multi-light arrangement. You will need to be more deliberate about the types of lights you use and where you set them if you are filming indoors.
- Overhead lighting should be avoided since it can produce unattractive shadows on your subjects’ features.
- Windows are a good source of natural light. Backlighting is utilized to produce a three-dimensional scene; hence it is the last step in a three-point lighting arrangement. This likewise faces your subject, but from behind, so that your subject is separated from the background.
Background
- It is advisable to use a simple background or improve it as much as possible by removing as much clutter as possible. Many people utilize solid-colored backgrounds for filming — choose your background carefully.
- A cluttered or distracting background is the epitome of unprofessionalism.
- Using a solid-colored background for your video is easy to give it a professional appearance.
- A massive sheet of backdrop paper, a wall, or a bedsheet is all ideal possibilities. To avoid casting shadows on the backdrop, make sure your subject stands several feet away from it.
- Start with the basics to improve your videography, then progress and experiment from there.
- Make sure your shot doesn’t have a window or other reflecting surface in the background. Inadvertently, the camera could be caught in the mirror. Aside from that, having a light source behind your subject, such as a window, might make the subject appear dark and shadowed.
Clear Audio and Closeup Videography
- The quality of your professional video is less important than the quality of your audio. Most people are willing to watch a film that isn’t high definition or even a touch grainy if the rest is good.
- However, a few seconds of playing a movie with scratchy, unintelligible audio is generally enough to have anyone hit the “back” button. Because audio is so important, the first piece of equipment you should get is a good microphone.
- Put your microphone as close to the subject as possible to capture quality audio. To remove blips and crackles from the finished recording, you might wish to use a pop filter.
- Things like traffic, birds, and even wind noise are easy to shut out, but all these sounds will be audible on your recording. Be aware of any background noise picked up by your microphone.
- Another photography technique that comes in handy for people interviews, detailed explanations, solving puzzles, and a variety of other settings is closeup videography. When a skilled videographer wants to delve into anything or go in-depth on a subject, he will choose close-up shooting, which feels more authentic and draws viewers in closer.
- You can only film an object fixing top with close-up photography. When filming closeups, use the videography lights carefully. You should divide the shooting frame into 3 x 3 grids (with 4 lines – 2 horizontal divided lines + 2 vertical lines) for non-closeup scenes.
Allow some space in the top region and set your main shooting object at/near the intersections of four lines for cooler aesthetics. - With a more capable camera, you can experiment with long focal lengths for Zoom-in clips and short focal lengths for Zoom-out sequences. Changing between a closeup and a wide picture might result in a striking image.
Camera Placement and Avoid Shaky Footage
- Beginners frequently make the mistake of failing to consider how the focal length of the lens and the camera’s distance from the subject affect the appearance of the scene.
- Moreover, do not put your camera too close to your subject while taking closeup photographs, as this can cause ugly face distortions and make cropping out the scene’s edges more difficult. And try to place your camera a few feet away, and slowly zooming in with your camera lens is much easier.
- Temperature and color correction is a severe difficulty to many experts. Various cameras may have different preset color temperatures if you record the same scene with multiple cameras so try to change it now.
- When your camera’s autofocus feature can be handy, it can also destroy your video if it goes in and out of focus while trying to detect your subject in a dimly light environment.
- Any professional video will look like a home movie if the footage that is taken becomes shaky (and it can make your viewers feel seasick, to boot).
- It is challenging to keep a camera entirely still, so if you can avoid it, try not to hold it at all. Instead, set your camera on a firm surface or utilize a tripod.
- Despite your best efforts, your footage comes out shaky, video stabilization software can help you fix it afterward. Some cameras come with built-in stabilization, which you can use when filming.
- Slowing down your footage might also help to disguise shakiness. Setting the focus also allows you to add cool effects to your movie, such as using the rack focus technique to draw the viewer’s attention by focusing on different items sequentially (with the help of a shallow depth of field blurring everything else out).
Variety of Angles and Camera Presence
- If you appear in your professional films, your on-camera demeanor significantly impacts how experienced your content appears. On camera, seeming uneasy, fidgety, or uncomfortable will draw attention away from your message.
- Another issue that can be found when you could run into while filming a scene with numerous video cameras has clips that do not appear the same in terms of exposure. A scene may appear darker in one camera, but in another, it might appear brighter, so this is true if your exposure settings, such as frame rate, ISO levels, and aperture, are not the same.
- And T-stops are used in dedicated cine lenses for this reason only. Instead of the more theoretical f-stop number on ordinary photographic lenses, these stands are used for actual aperture values.
- Adding visual interest to your professional videos by cutting from one angle to another is a fantastic (and Assume you’re filming a how-to video, a product demo, or another type of video in which you do something rather than just talk.simple) technique to do so.
- Assume you’re filming a how-to video, a product demo, or another type of video in which you’re doing something rather than just talking.
- More minor adjustments in perspective do not provide the desired effect; instead, they appear startling to the spectator. Shoot plenty of B-roll material for each film so that you can use it later if necessary.
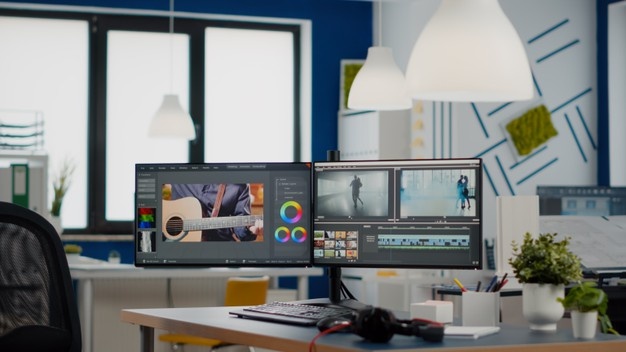
Edit and Cinematic Techniques

- It would help if you saw first that to maintain your viewers’ interest properly, you must keep your shots longer than five seconds but not longer than ten seconds. And always remember to keep your shots stable for at least 10 seconds before panning or zooming.
- Most of the beginners will find it quite helpful in limiting camera movements but cutting down on recording time and keeping their post-production sequences is as simple. It would help to capture different viewpoints and a few “safety shots” while filming a scene.
- This implies that you will have more options for making your final cut and edit. This will save the time and work you have spent during re-filming otherwise. Furthermore, it will also keep you from taking bad photos, which will make your work appear amateurish.
- When editing, you should always start with a simple video editing program that will help you gain a feel for it before going on to more advanced tools. A genuinely professional-looking video project always includes a variety of basic camera motions that enhance the storytelling and keep your viewers engaged while doing it. If you want to take your videography to the next level and wow your viewers, you must use some cinematography methods.
- The tactics you choose will be determined mainly by your level of imagination or practice and how you want to present the scenes to the viewers.
- Still, it is always preferable to pick only the most important ones that will best tell your story. And by doing this, you do not have to go overboard with the images and wind up distracting your audience from your it.
Small Segments and Composition Rules
- Filming short takes is much easier because you or your subject will have fewer things to remember and more chances to reshoot anything you do not like. Concentrating on breaking down your screenplay into smaller takes can be forceful to deliver your message more simply and concisely.
- It also gives you more outstanding and best-looking professional video freedom in post-production to edit the takes into the result any way you want, and it won’t look choppy. Filming in short distinct parts will also give you easy-to-use clips and sound bites to use in previews, trailers, and samples while maintaining the integrity of your message.
- If you follow the rule of thirds, which divides the frame into a three-by-three grid, producing intersections that are great spots to place your subject, the way you frame your subject in the video you are about to record is called composition.
- Framing your subject dead center in the frame is usually a bad idea, especially for novices, because it leaves a lot of space in the upper third of the frame. If your subject is in the photo’s vertical center, make sure their eyes are aligned with the top line.
The more professional your films appear, the more they will help your brand. Making professional looking videos requires some skill and know-how, but it isn’t magic or requires years of study. By using the fundamental tactics outlined in this article, you can drastically improve the quality of your next movie.